CREATING ILLUSIONS WITH LINES
Basic Line Blending

|
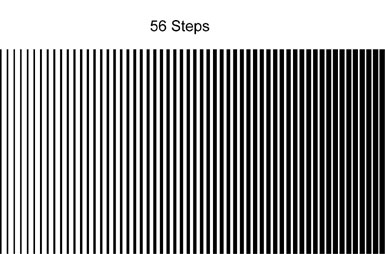
If the units value on your page is not set to “points,” pull down the file menu and change it in Document Setup. Start by drawing a single vertical line with the pen tool. Now select it and make sure that the “fill” portion of the tool bar is crossed out. You are only going to use “stroke” in this exercise. Then bring up the stroke pallet and give the line a 2 pt width. Make a copy of this line and move it off to the right. Set the stroke on this new line to 8 pt. |
| Select both of these lines and pull down the “Object” menu and chose “Blend – Make” (or use the blend tool) to create a blend between them. With the blend selected, pull down the “Object” menu and chose “Blend – Blend Options.” In the resulting dialog box, set “spacing” to specified steps and the number to 56, then hit OK. |
|
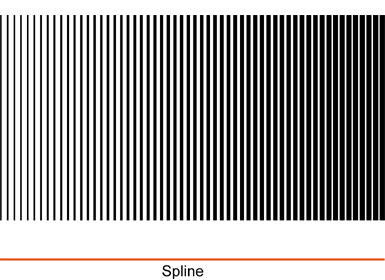
| Illustrator 9 will not
create a “spline” between blended single lines, however, older
versions will, so you might not need this step. If you don’t see a
“spline” down the middle of the blend when you select it, follow
these directions to create one.
|
|
|
|
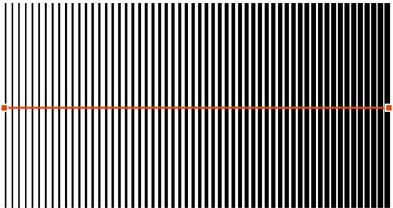
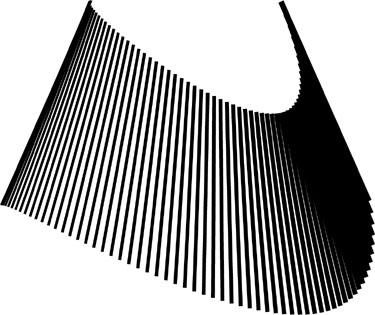
Use the pen tool to draw a single horizontal line somewhere outside the blend. Then select both the blend and the line. Now pull down the object menu and chose “Blend - Replace Spline.” Your line will be inserted in the blend as the “spline.” |
|
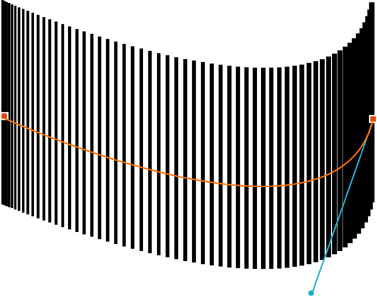
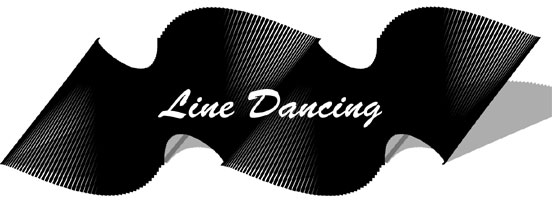
| Pick the convert anchor point tool (under the pen tool). Click and hold on the right anchor point, and drag away (down & to the left) to form the wave shape in the example. Now you can see why we made the line on the right thicker. It adds to the illusion by seeming to shade the steep side of the curve. |
|
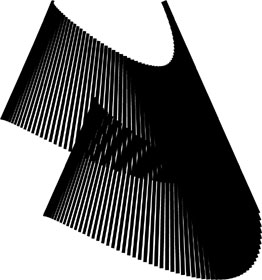
| You can use the “Free Transform” tool to change the shape of blends in the same way you would with any other object. (Refer to the instructions for using the tool to create perspective illusions in the Monochrome Scene assignment.) In this case I pulled the top corners in (like you would in a receding scene). |
|
| You can copy blends, just like any other shape or object. You can overlap them to create Moiré patterns between the sets of lines. This can add several extra perceptual illusions without any extra drawing on your part. |
|
Line blending for circles and “cornucopia
effects.”
| I use circles for the techniques
described here, but they would work equally well for any shape you might
need for your designs.
|
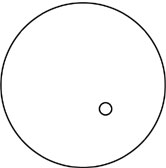
| Pick the ellipse tool. Then double click anywhere in your workspace. In the resulting dialog box, chose values that are equal (this will produce a circle, you only do this if a circle is what you want), and hit “OK.” Resize the resulting circle to accommodate the size needed for your finished object, then give it a 2 pt stroke and no fill. Now copy the circle and make the new one much smaller than the original. Place the new one off center on top of the first one. |
|
|
| Select both of these circles and create a blend. Then chose “Object - Blend - Blend Options,” and set “Specified Steps” to 40 – 55, and hit “OK.” |
|
|
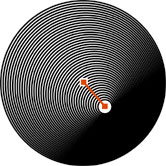
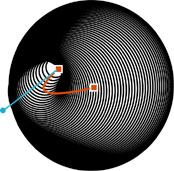
From here, the resulting blend can be manipulated into shapes that turn inward or outward. You should already see a spline when the object is selected because Illustrator is blending objects rather than lines. Use the direct selection tool to move the end of the “spline” that is centered in the small circle into the upper left quadrant of the object. Now, with the blend selected, pick the convert anchor point tool (under the pen tool). Click and hold on the anchor point in the small circle, and drag away to the lower left to distort the spline into a curve. You can experiment with several effects. |
|
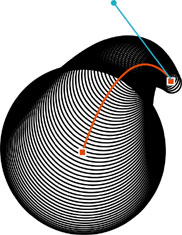
| If you had used the direct selection tool to move the end of the “spline” that is centered in the small circle outside the larger circle, you might have bent the “spline” to create this cornucopia effect. |
|
|
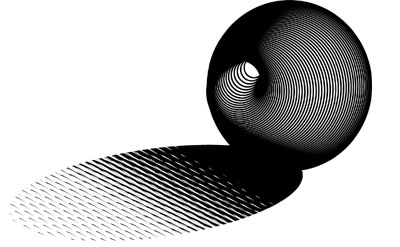
Illustrator’s “Hatch Effects” filter (Filters - Pen & Ink – Hatch Effects) will allow you to fill any shape with an array of stylized pen strokes. In this example, an ellipse is filled with “swash” shapes and arranged to imitate a shadow. It appears solid under the ball because the curved lines become big enough there to fill in the spaces between them. In the “Hatch Effects” dialog box, check the preview box, so you can see what you are creating. Then select the “Effect” & “Hatch” you want from the pull down menus. Now you can adjust density, dispersion, thickness, scale, rotation, and fade to fit your needs. When you have the fill you want, hit OK. Click away from the resulting web of construction lines to see the finished effect. |